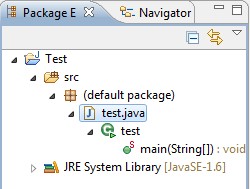
The following tutorial shows how to add a menu item to the popup menu when right click a .java file in Package Explorer View.
If you know how to create a typical plug-in project, you can skip the first step.
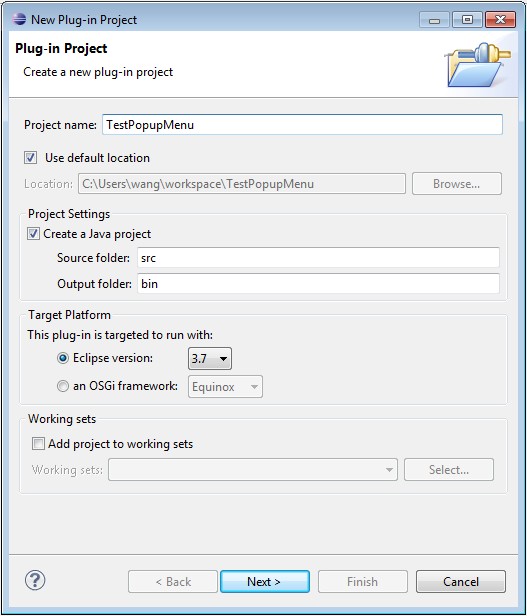
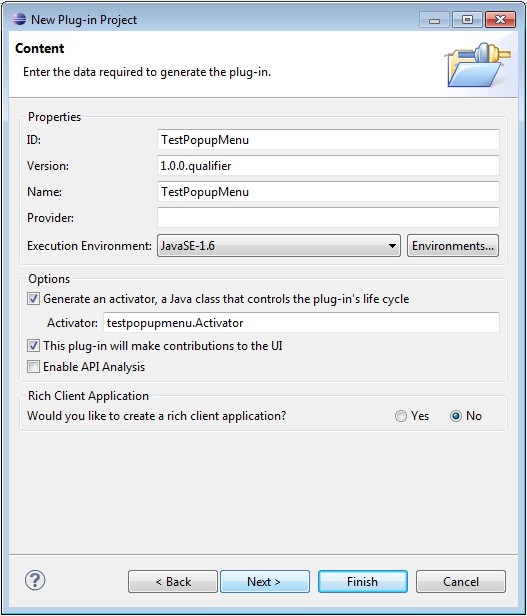
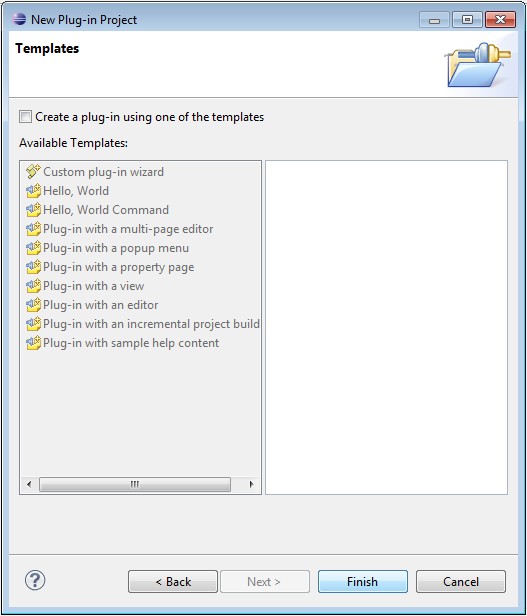
1. Create a plug-in project following wizard
Click “Finish”, and you have an empty plug-in project created.
2. Create an extension with wizard
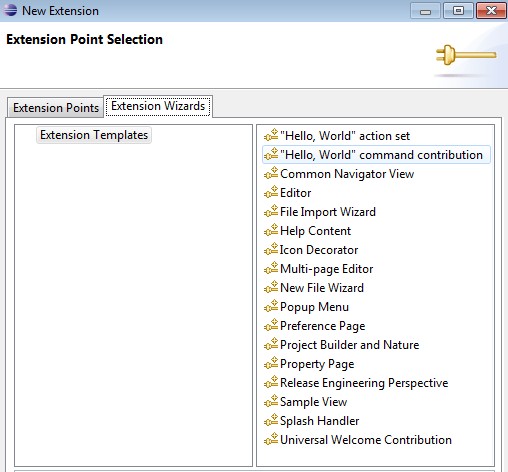
Under the overview page below, click “Extensions”.
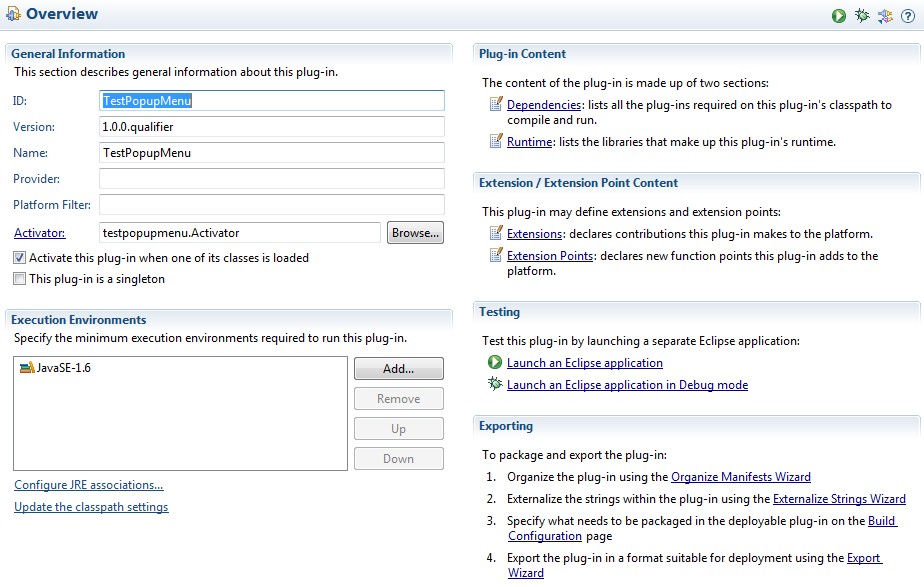
Now select “Hello, World” command contribution. The reason we use a wizard is that this makes the creation faster.
3. Change plugin.xml file to the following
This is the most important part of this job.
<?xml version="1.0" encoding="UTF-8"?> <?eclipse version="3.4"?> <plugin> <extension point="org.eclipse.ui.commands"> <command categoryId="TestPopupMenu.commands.category" id="TestPopupMenu.commands.sampleCommand" name="Sample Command"> </command> </extension> <extension point="org.eclipse.ui.handlers"> <handler class="testpopupmenu.handlers.SampleHandler" commandId="TestPopupMenu.commands.sampleCommand"> </handler> </extension> <extension point="org.eclipse.ui.menus"> <menuContribution locationURI="popup:org.eclipse.jdt.ui.PackageExplorer"> <command commandId="TestPopupMenu.commands.sampleCommand" id="TestPopupMenu.menus.sampleCommand" mnemonic="S"> <visibleWhen> <with variable="activeMenuSelection"> <iterate ifEmpty="false"> <adapt type="org.eclipse.core.resources.IResource"> <test property="org.eclipse.core.resources.name" value="*.java" /> </adapt> </iterate> </with> </visibleWhen> </command> </menuContribution> </extension> </plugin> |
The following attribute specifies that popup only shown for PackageExplorer view.
<menuContribution locationURI="popup:org.eclipse.jdt.ui.PackageExplorer"> |
If locationURI is set to be popup:org.eclipse.ui.navigator.ProjectExplorer#PopupMenu, the popup menu will show up in ProjectExplorer view.
The following attribute specifies the menu item is only shown for .java files.
<adapt type="org.eclipse.core.resources.IResource"> <test property="org.eclipse.core.resources.name" value="*.java" /> </adapt> |
4. Run the plug-in and get the menu item
Create a Java project and add a java file, right click it and then you get the menu.
This example shows the following message. Instead, you can execute a real job.
Instead of doing nothing useful, we can print the selected file’s information.
public Object execute(ExecutionEvent event) throws ExecutionException { // get workbench window IWorkbenchWindow window = HandlerUtil.getActiveWorkbenchWindowChecked(event); // set selection service ISelectionService service = window.getSelectionService(); // set structured selection IStructuredSelection structured = (IStructuredSelection) service.getSelection(); //check if it is an IFile if (structured.getFirstElement() instanceof IFile) { // get the selected file IFile file = (IFile) structured.getFirstElement(); // get the path IPath path = file.getLocation(); System.out.println(path.toPortableString()); } //check if it is an ICompilationUnit if (structured.getFirstElement() instanceof ICompilationUnit) { ICompilationUnit cu = (ICompilationUnit) structured.getFirstElement(); System.out.println(cu.getElementName()); } return null; } |
5. Conclusion
By setting different values in the plugin.xml file, you can let the added item to shown in different views, such as Navigator. You can also let it shown for different types of files.
I call the menu “popup menu”, but in Eclipse, Popup Menu means a different thing.

very nice example thanks a ton.